I bought a Prusa i3 kit some time ago, in an effort to experiment a little bit around 3D printing.
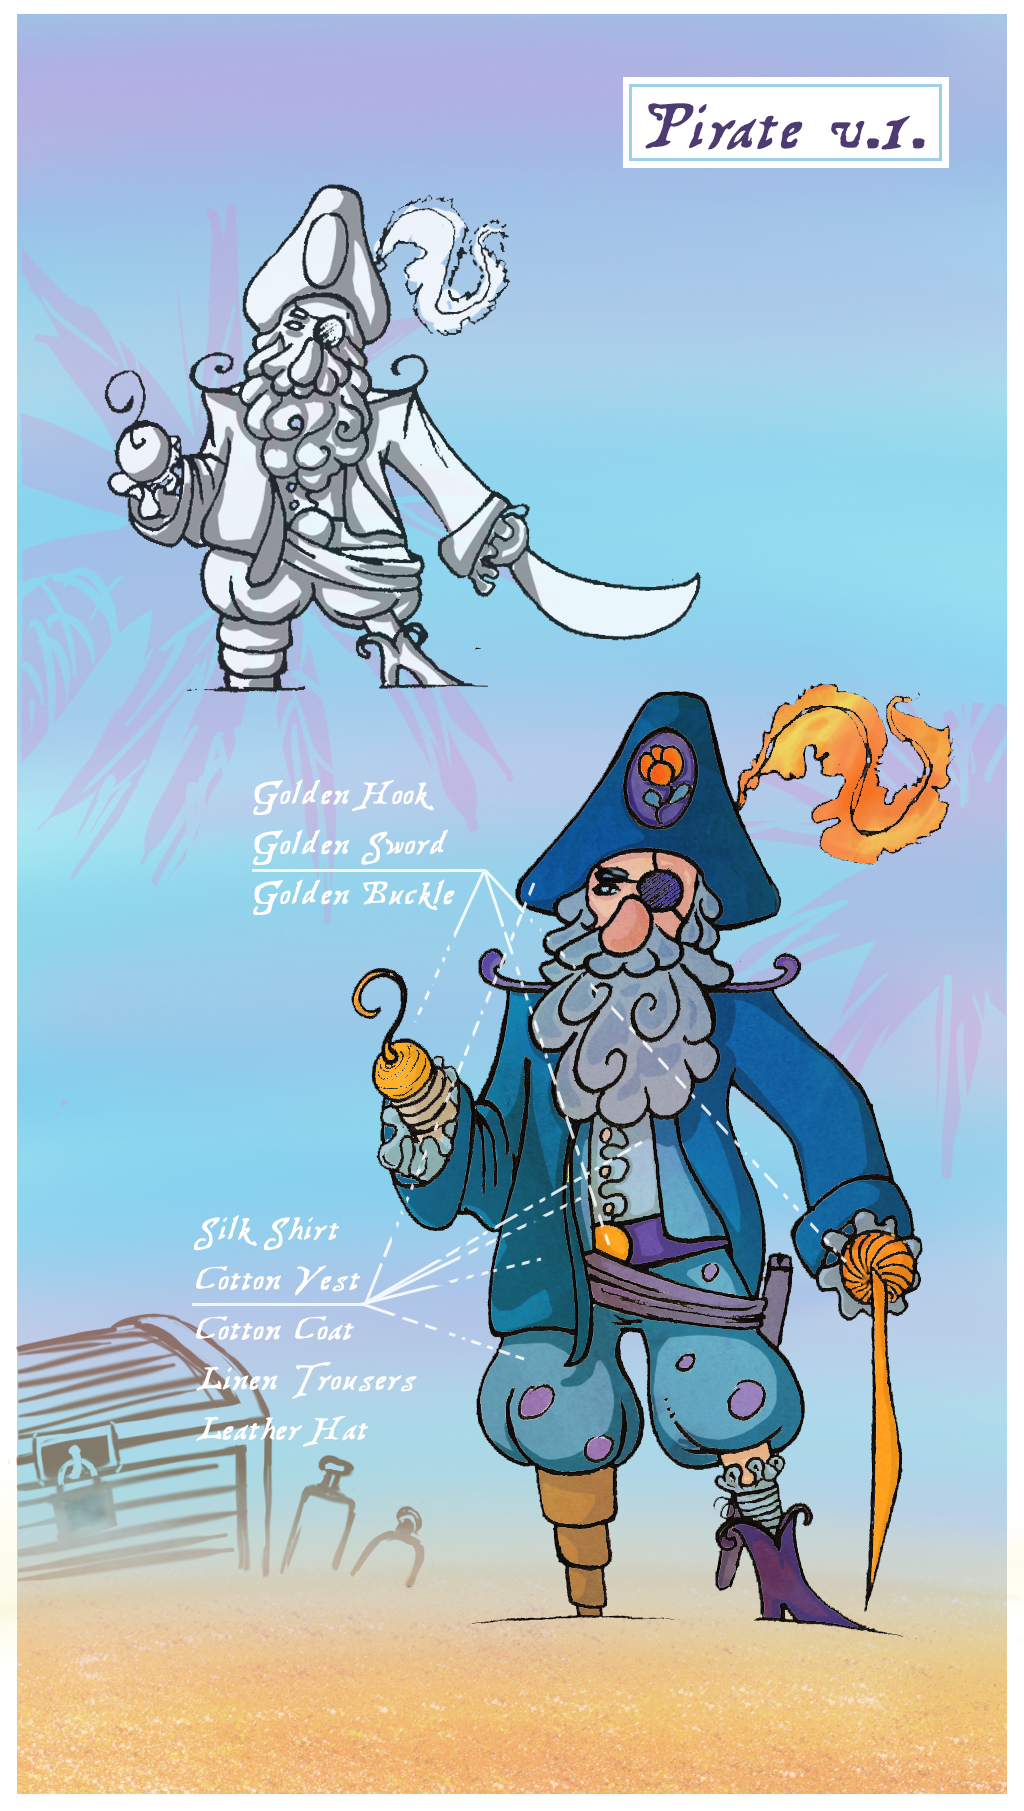
In parallel, I had a discussion about everything with Dani (like most of our discussions). Things like Kickstarter, games, prototyping and USB sticks were predominant in that particular one. A few days later he came back with a set of pirate characters and a story-line. I decided to focus on the main one and build a prototype.
|
|
|


The next step was to convert this to a 3D model. A lot of time and a few versions later, we reached something that looked good and it was (or so I thought) printable.


 As one can tell, it’s quite a complex piece and a fragile one due to the level of details. Adding to much support material can damage the quality of the final product. The hook and the sword were obvious candidates for trimming and printing separately but I had to remove small bits (the feather and the decorations on the shoulders) and larger ones like… the feet 🙂


I experimented about 20 versions and tried printing it in various formats, positions and components. One idea was to slice the torso in half in order to minimize the support material needed. What I noticed was that the trim between the halves was not printing flat enough to allow gluing them together, no matter how much tuning I did on the printer.
Back to trying to print the torso in one piece, but in vain. The hands proved to be the problem.

More trimming, hands detached and on with the printing. Ten individual pieces in total.
Finishing the complete pirate was an ordeal. The support material left scars on the ol’ pirate.

A Dremel helped me in the process and it was really handy. But nothing can replace good old manual sanding, especially for a piece as complicated as this one. Even though the print was performed with a 0.01 mm layer height, the layers were still quite visible even after multiple rounds of sanding.

There are several finishing techniques to supplement sanding, unfortunately none of them actually replacing sanding. Since the print is PLA, one common technique is to use acetone to create a smooth surface. It does work, but it’s a matter of feeling to know how much to keep the print immersed in acetone. Too little time and not much is happening, too much and it melts. Other approaches suggest creating an acetone vapor bath, some using a rice cooker :). I don’t have a rice cooker, nor do I want to set my house on fire, so I just used a little bit of acetone and wiped the print repeatedly until I got rid of the rough edges of the layers. The layers were still visible but the edges were smoother.
Smoothing the print didn’t solve the scars left by the support material on the back of the pirate. Applying a filling primer directly won’t fill the holes. Coating the print with chemicals is tricky because PLA might melt from the interaction with other chemicals. One of the few coating liquids available and specifically suitable for PLA that I could find was the XTC-3D, but it’s not available on the European market. These coating chemicals come as two separate liquids which mixed, get the hardening properties needed. That triggered me to try and use an epoxy based glue. The one that I could easily find was the Bison Epoxy 5 minutes. Same concept, two liquids mixed together, a much bigger challenge since the hardening time is about 5 minutes. So I worked with small amounts and I had a lot of brushes which I would dispose after every 5 minutes cycle (they would become rock hard).

After three rounds of epoxy coating with the same time consuming sanding in between it was obvious that adding any extra material will start to impact the fine details of the print. Two more rounds of filling primer and some soft sanding and that was it.
Without further ado, I give you “The Pirate”

The pirate is now ready to go back to Dani now to get some colors.
Oh, did I mention that he has a couple of secrets?
|
|
|


Remember that USB sticks were mentioned in the initial discussion? So where better to hide your secretes than in your pegleg. The other trick was to insert a strong magnet in the other leg so that the pirate can stand on any metallic surface.
What’s his name, you say? Well, for now it is just The Pirate. And no, we’re not going to ask for advice from the infinite wisdom of the Internet on naming the pirate, because we’ll most likely end up with Piraty McPirateface. Or we can use pirate name generator.
Kickstarter anyone? 🙂
Lessons learned:
- prototyping is not easy
- if you are looking to prototype quickly, ask somebody who’s experienced to do it, in the end it will be cheaper and it will save you a lot of time
- if you want to learn about the process and challenges, do it yourself and if you plan to prototype a lot, that’s the way to go